sleepy time tea

As I mentioned back in February, I've been diving into the world of herbs!  I've learned so much over the past couple months, yet still have so much to learn!  I've mostly been experimenting with herbal teas--both for medicinal purposes and everyday uses--and what I've found is that some of the herbs are so very easy to incorporate into everyday life!  My favorite everyday blend that I've created so far has been my Sleepy Time blend.  There is nothing quite like a warm cup of tea to help you wind down after a long day or a full evening--especially when the tea puts relaxing herbs to use like chamomile and lavender.  


Sleepy Time Tea :: helps calm and relax the body before bed 

2 parts chamomile flowers

1 part peppermint leaves

1 part spearmint leaves

1/2 part licorice root*

1/2 part lavender flowers

Mix together and store in an airtight container.  Use 1-2 teaspoons per cup of boiling water.  Steep for about 5 minutes.  Enjoy!

*omit the licorice root if pregnant


The best part about blending herbal teas, is that you can experiment with your own ratios--if the flavor is not to your liking, then mix it up and add a bit more of what you like.  It's so very easy.  And if sourced from the right place, it can be ever so affordable (far less expensive than using prepackaged tea bags)!!  I have been buying some of my herbs from our food co-op, but whatever I can't find there I've bought from Mountain Rose Herbs.  They are a great company, sourcing quality herbs and other herbal products. 

If you're looking for a good intro to herbs book, I've found Rosemary Gladstar's Medicinal Herbs for Beginners book very helpful as well!  

broth

Homemade chicken broth was one of the reasons that decided to start blogging.  One day, a dear friend of mine had asked me what I had done the evening before.  When I told her that I'd made broth, she looked at me and said, "You make your own broth, too?!"

I felt so many things in that moment.  I felt the pressure of the DIY trend--making people feel that they can and should make everything themselves, just for the sake of doing it themselves.  And I felt the pull back to more traditional lifestyles--which remind me that people have always been making their own broth, they just don't anymore.  It was in that moment that I wanted to teach, to inform, to show people that there are things that are so easy, so affordable, and so much better to make at home.  And chicken broth is one of them.  

So, with Turkey Day nearing, I thought it'd be a good time to share this lovely tutorial with you!  If you find yourself with an empty turkey carcass come the weekend, you can easily turn it into delicious and nutritious bone broth!  

Now, there are lots of different methods for making broth--some use the stove, the oven, a slow-cooker, some cook for a hour, a few hours, 24 hours!  The important thing to know is this: whatever your preferred method, all are better options to store bought canned broth simply because you know what you're putting in it!  

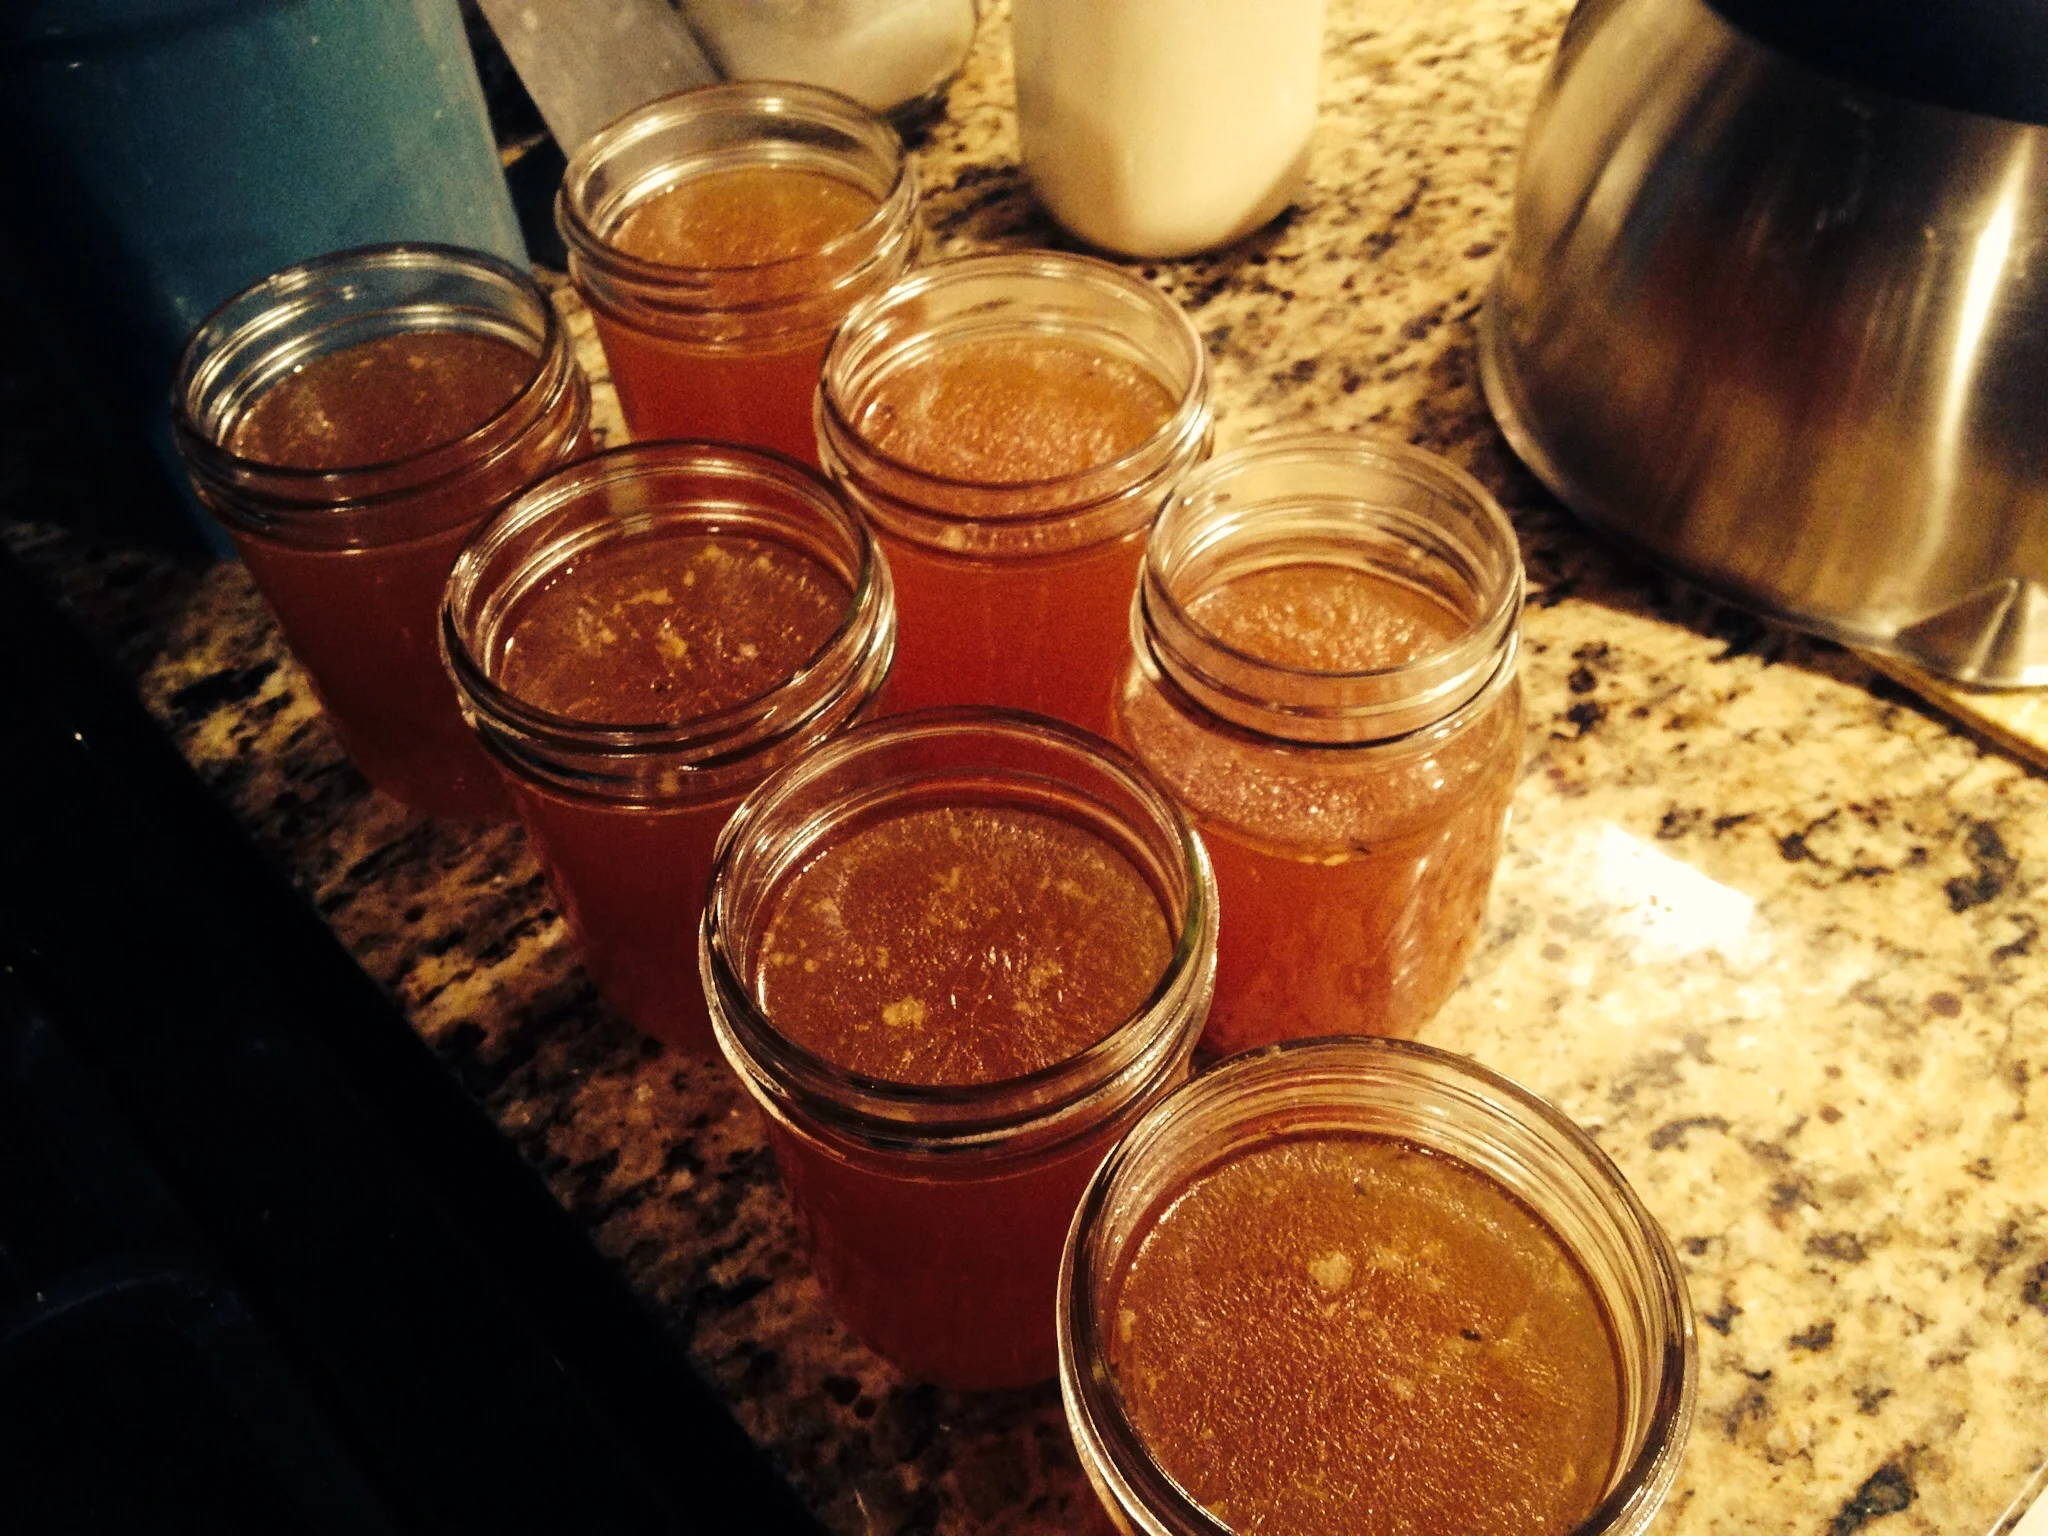
The tutorial below is the method I use both for its nutritional value and for its ease.  It is a bone broth, meaning that the bones are slow cooked for about 24 hours, which allows them to release a lot of their nutrients into the broth.  Here's a little about the nutrients in bone broth from the Nourished Kitchen:

Homemade broth is rich in calcium, magnesium, phosphorus and other trace minerals.   The minerals in broth are easily absorbed by the body.   Bone broth even contains glucosamine and chondroiton – which are thought to help mitigate the deletorious effects of arthritis and joint pain.     Rather than shelling out big bucks for glucosamine-chondroitin and mineral supplements, just make bone broth and other nutritive foods a part of your regular diet.
Further, homemade bone broths are often rich in gelatin.   Gelatin is an inexpensive source of supplementary protein.   Gelatin also shows promise in the fight against degenerative joint disease.   It helps to support the connective tissue in your body and also helps the fingernails and hair to grow well and strong.

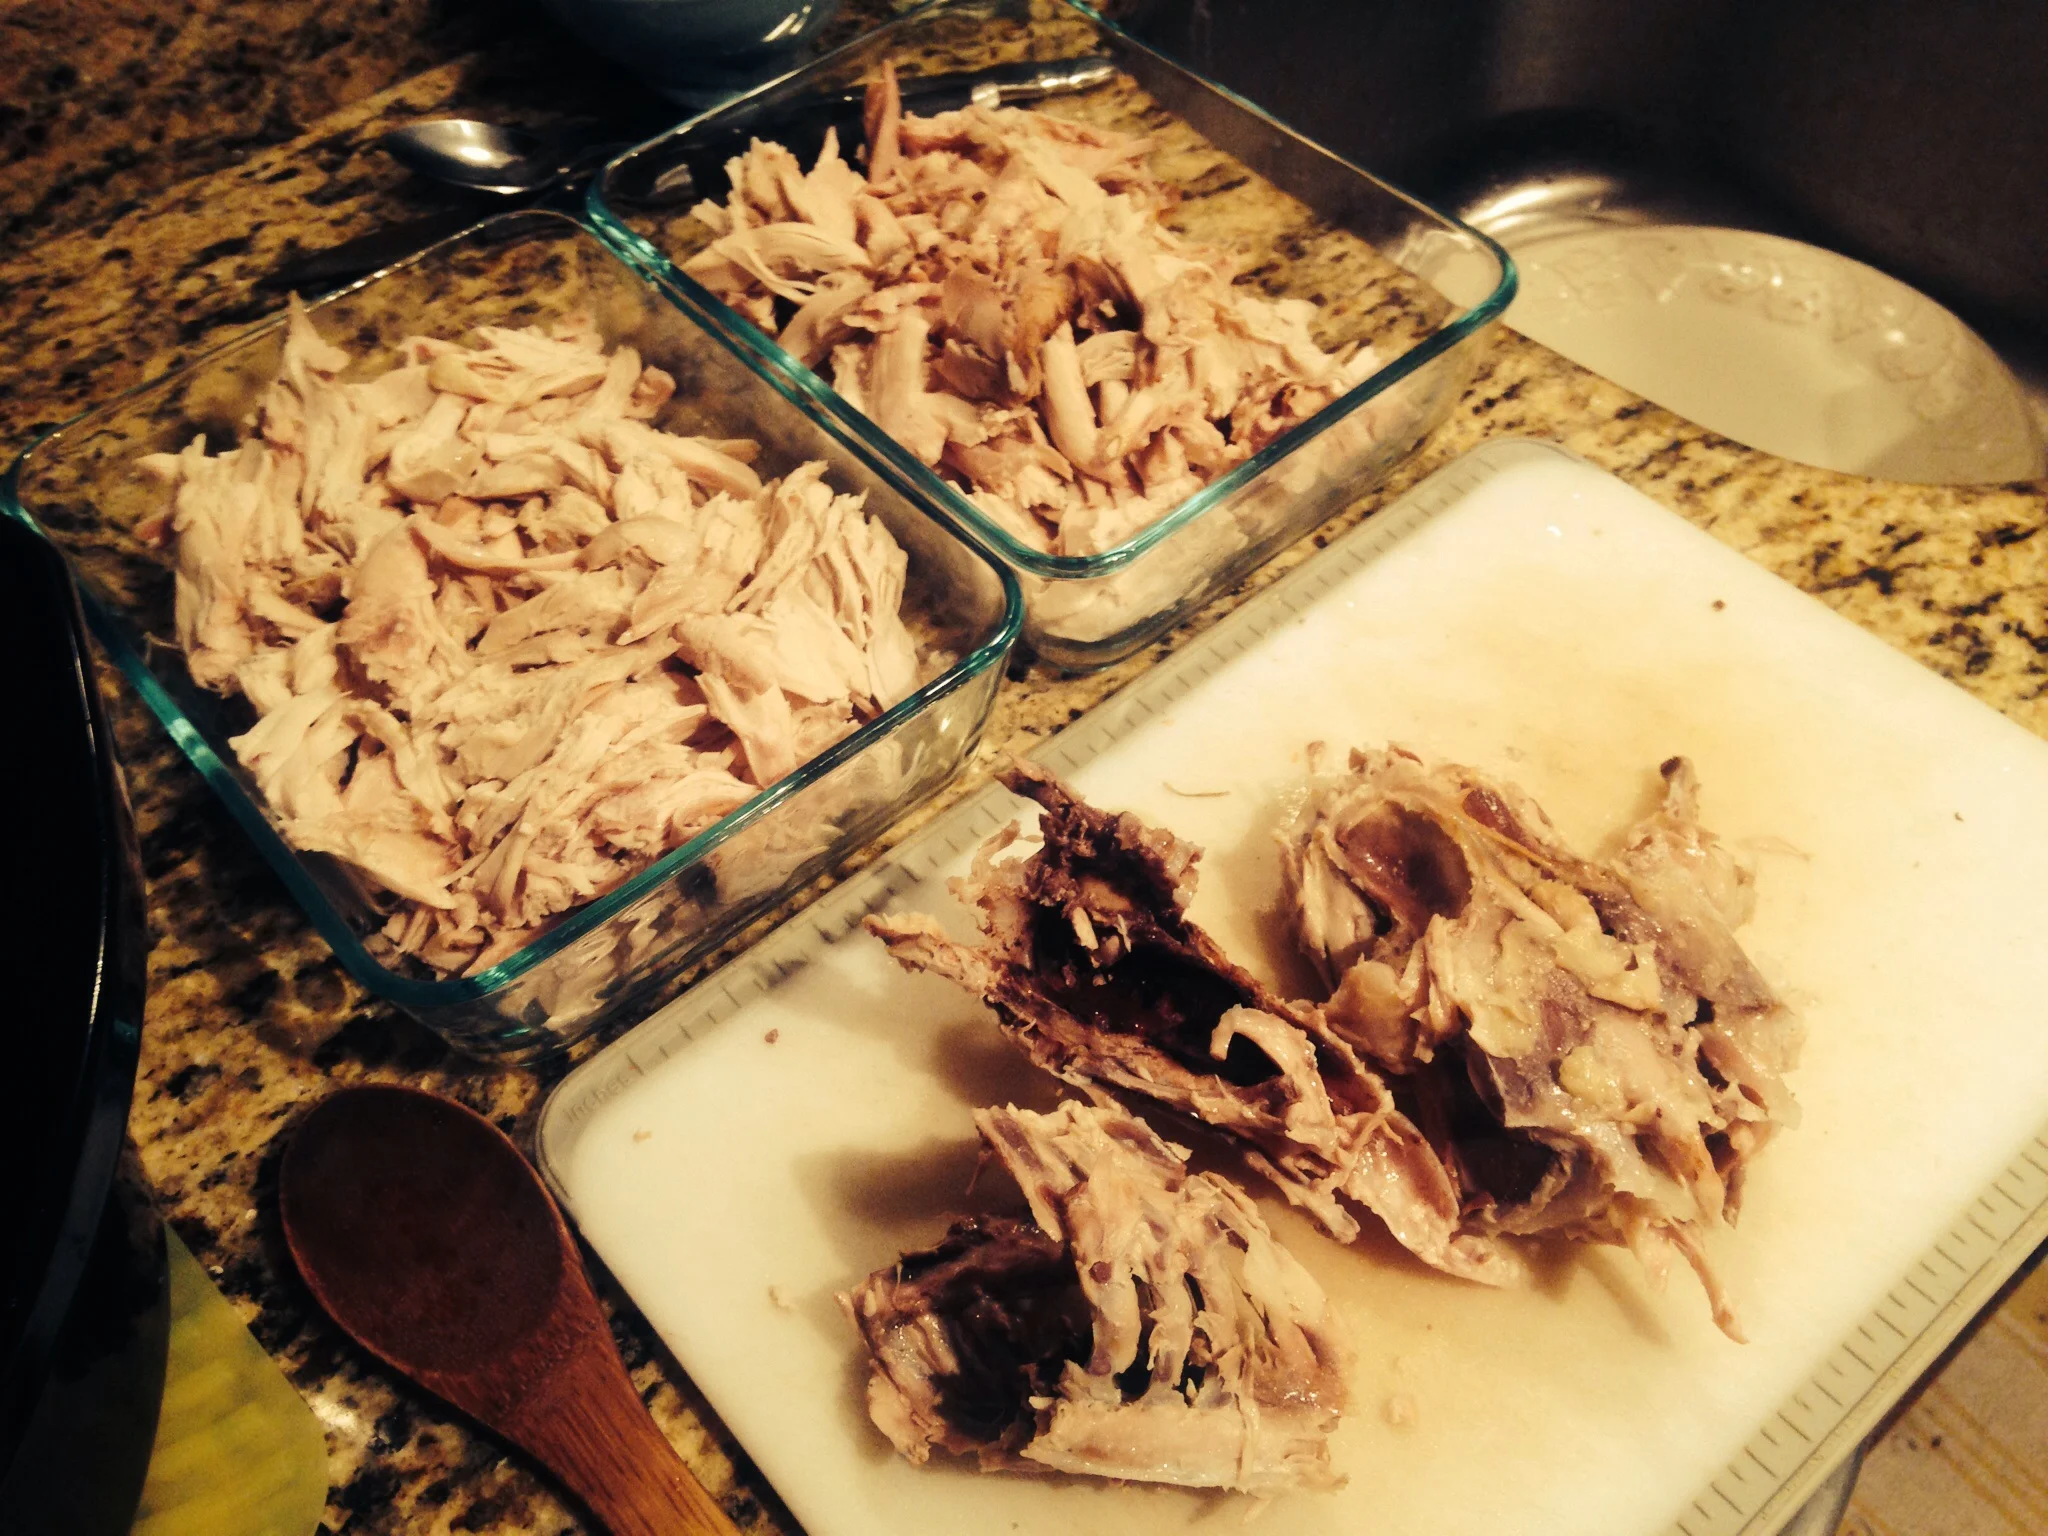
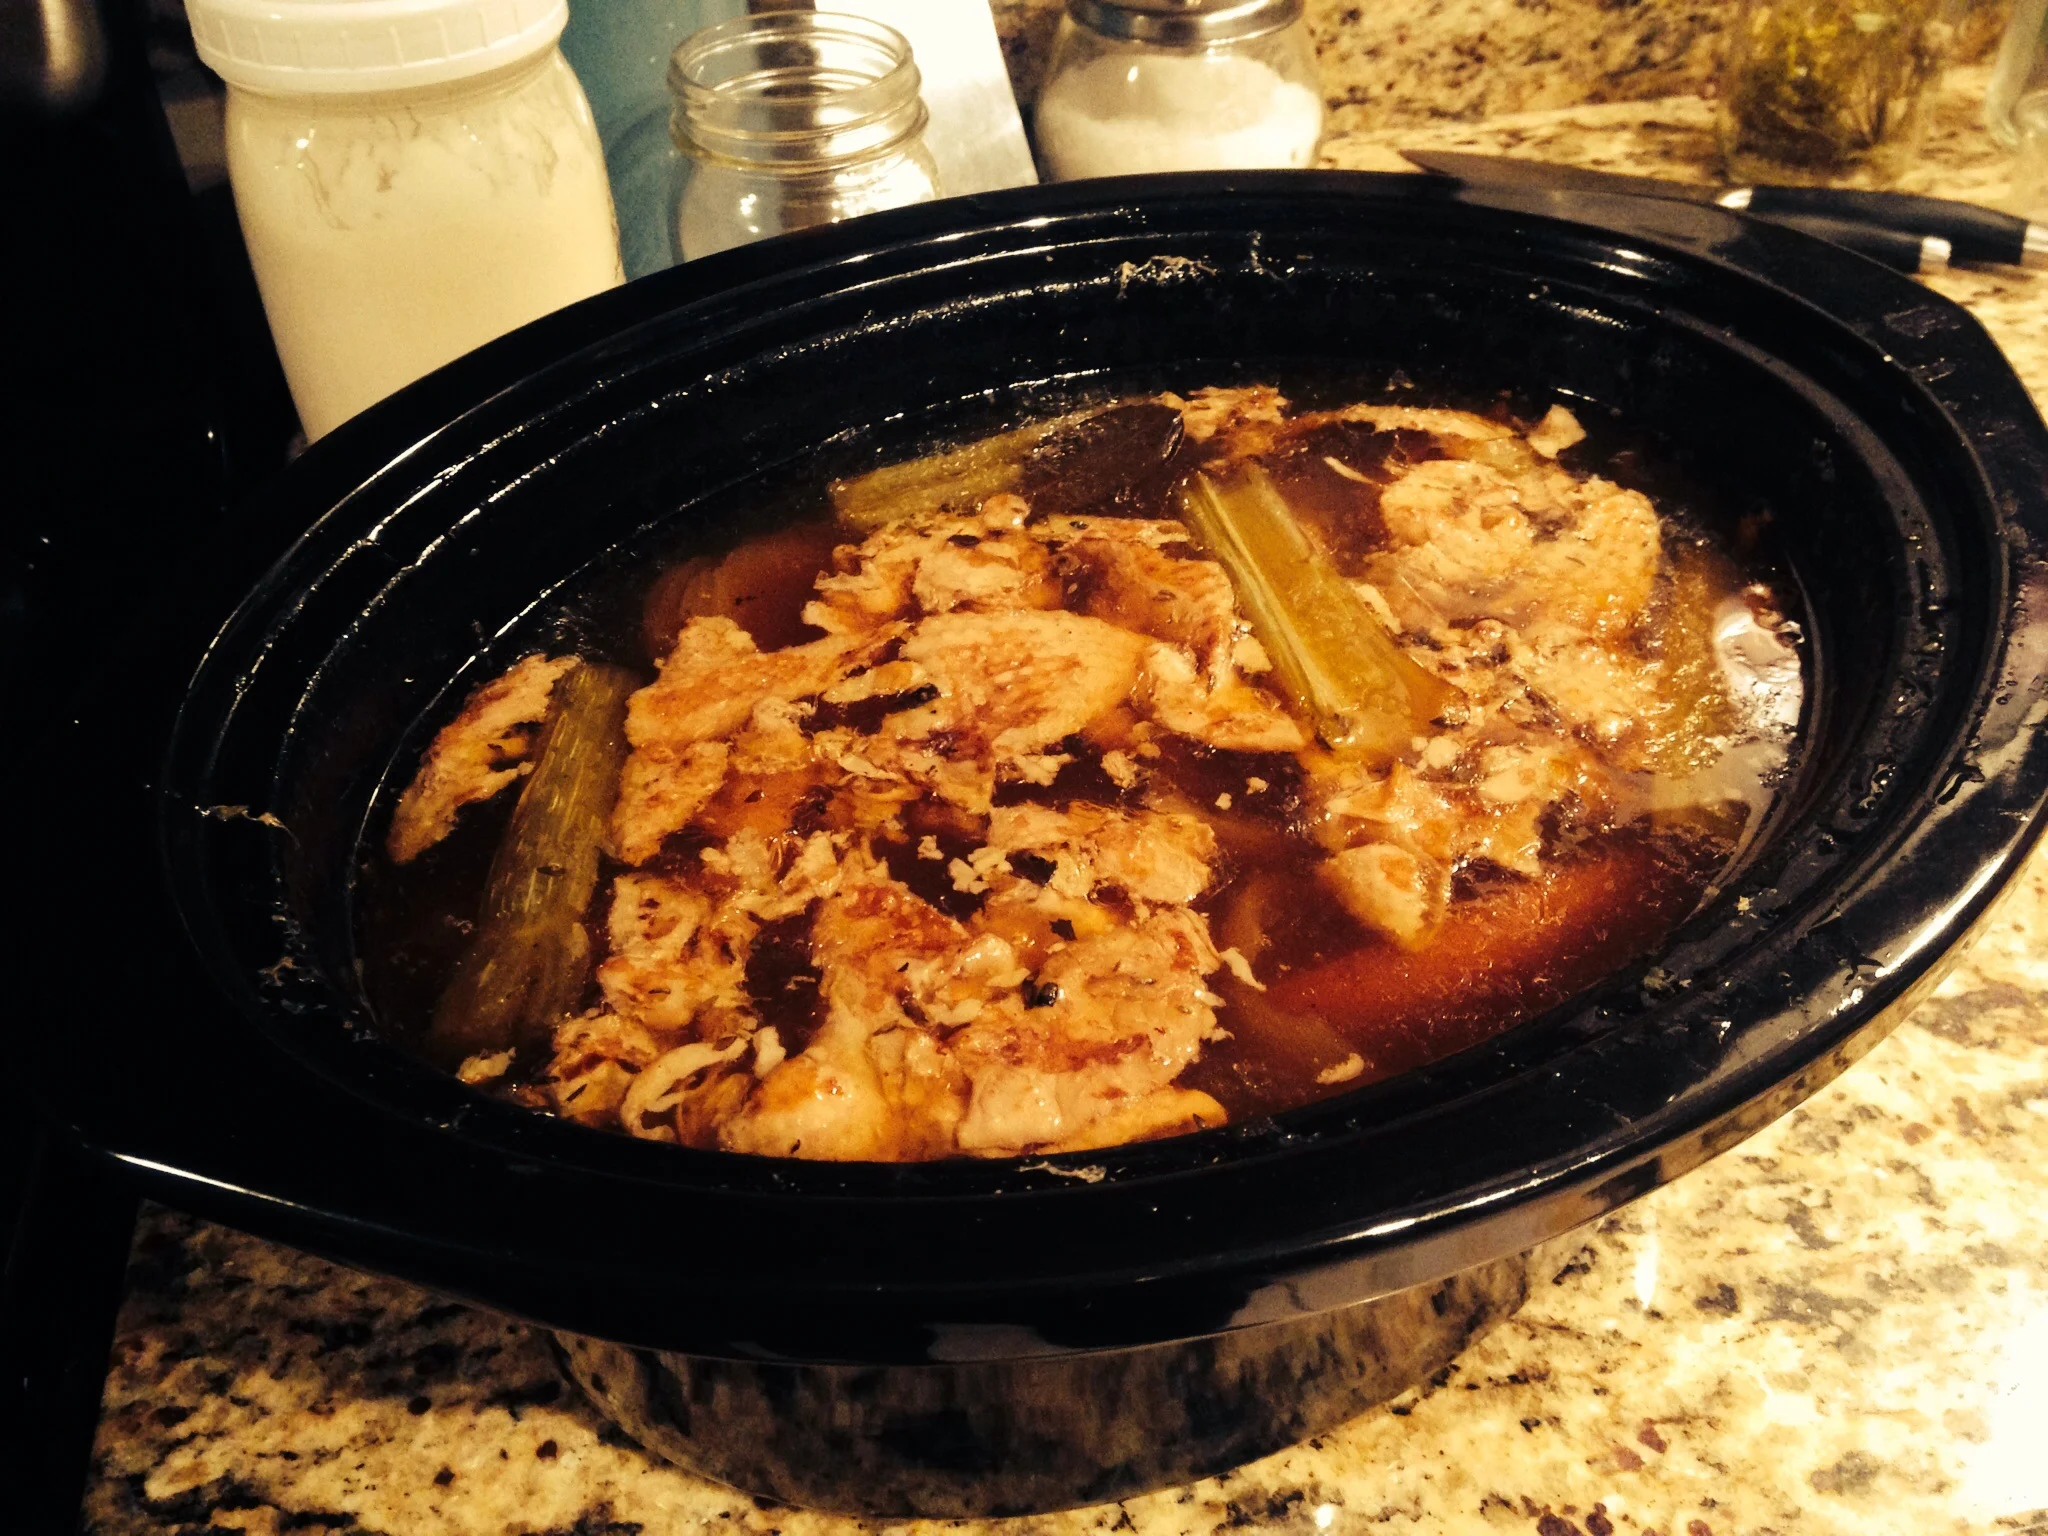
The key is the long cooking time.  When you cook the bones for at least 24 hours, the bones become soft where you can mash them between your fingers--this is how you know it's ready!  

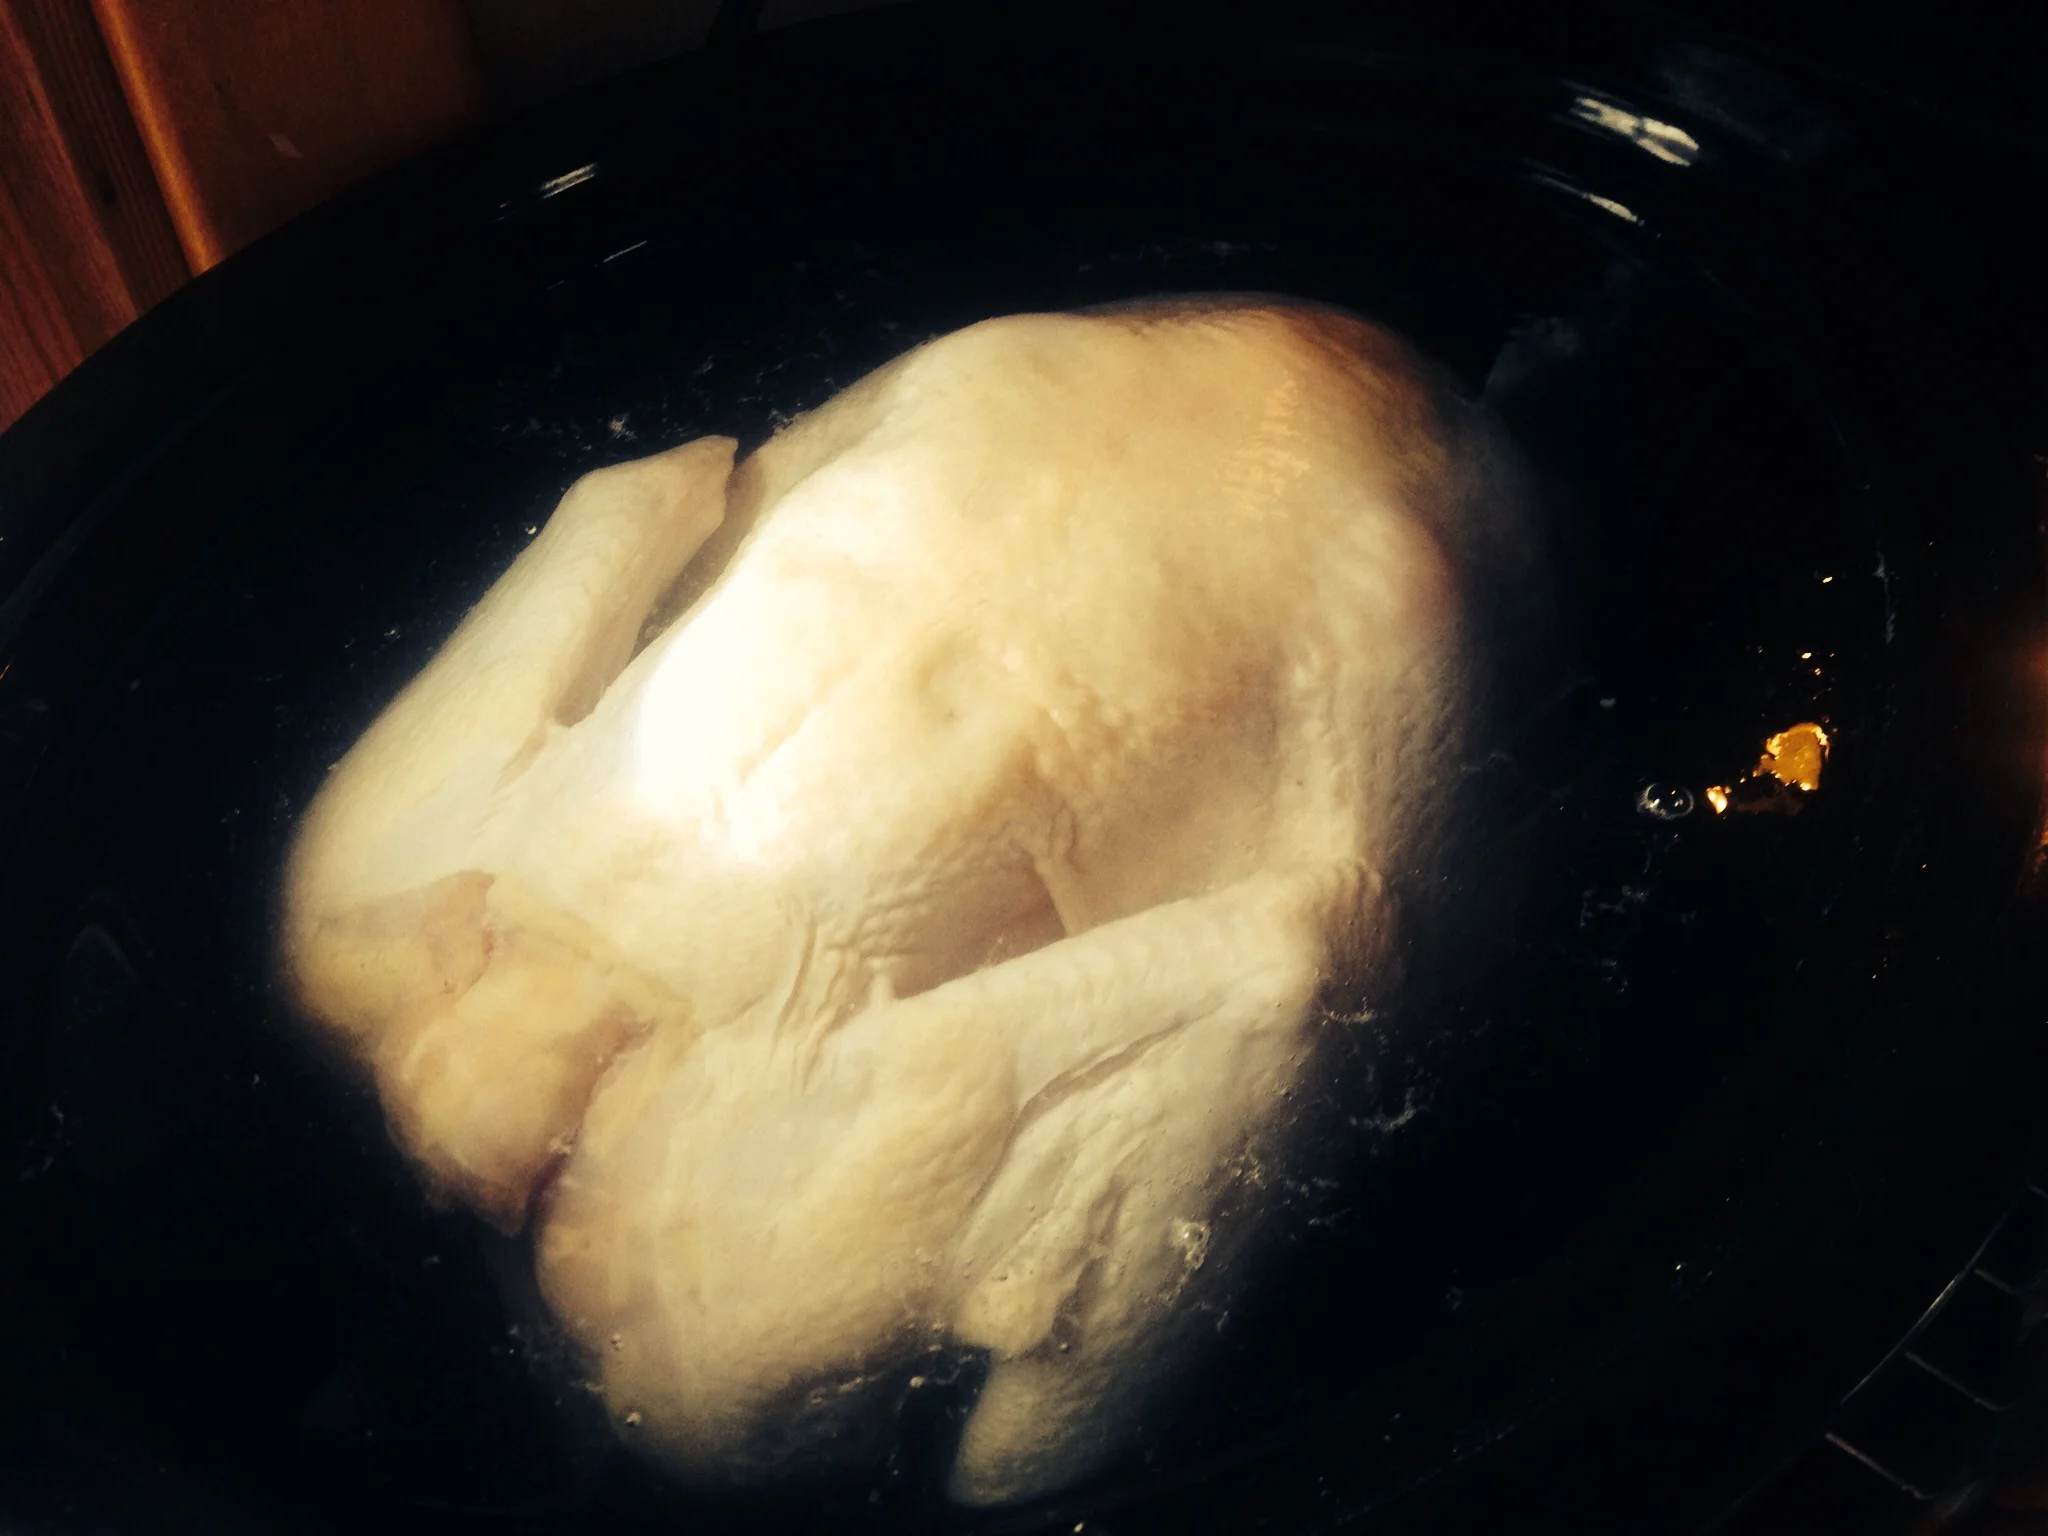
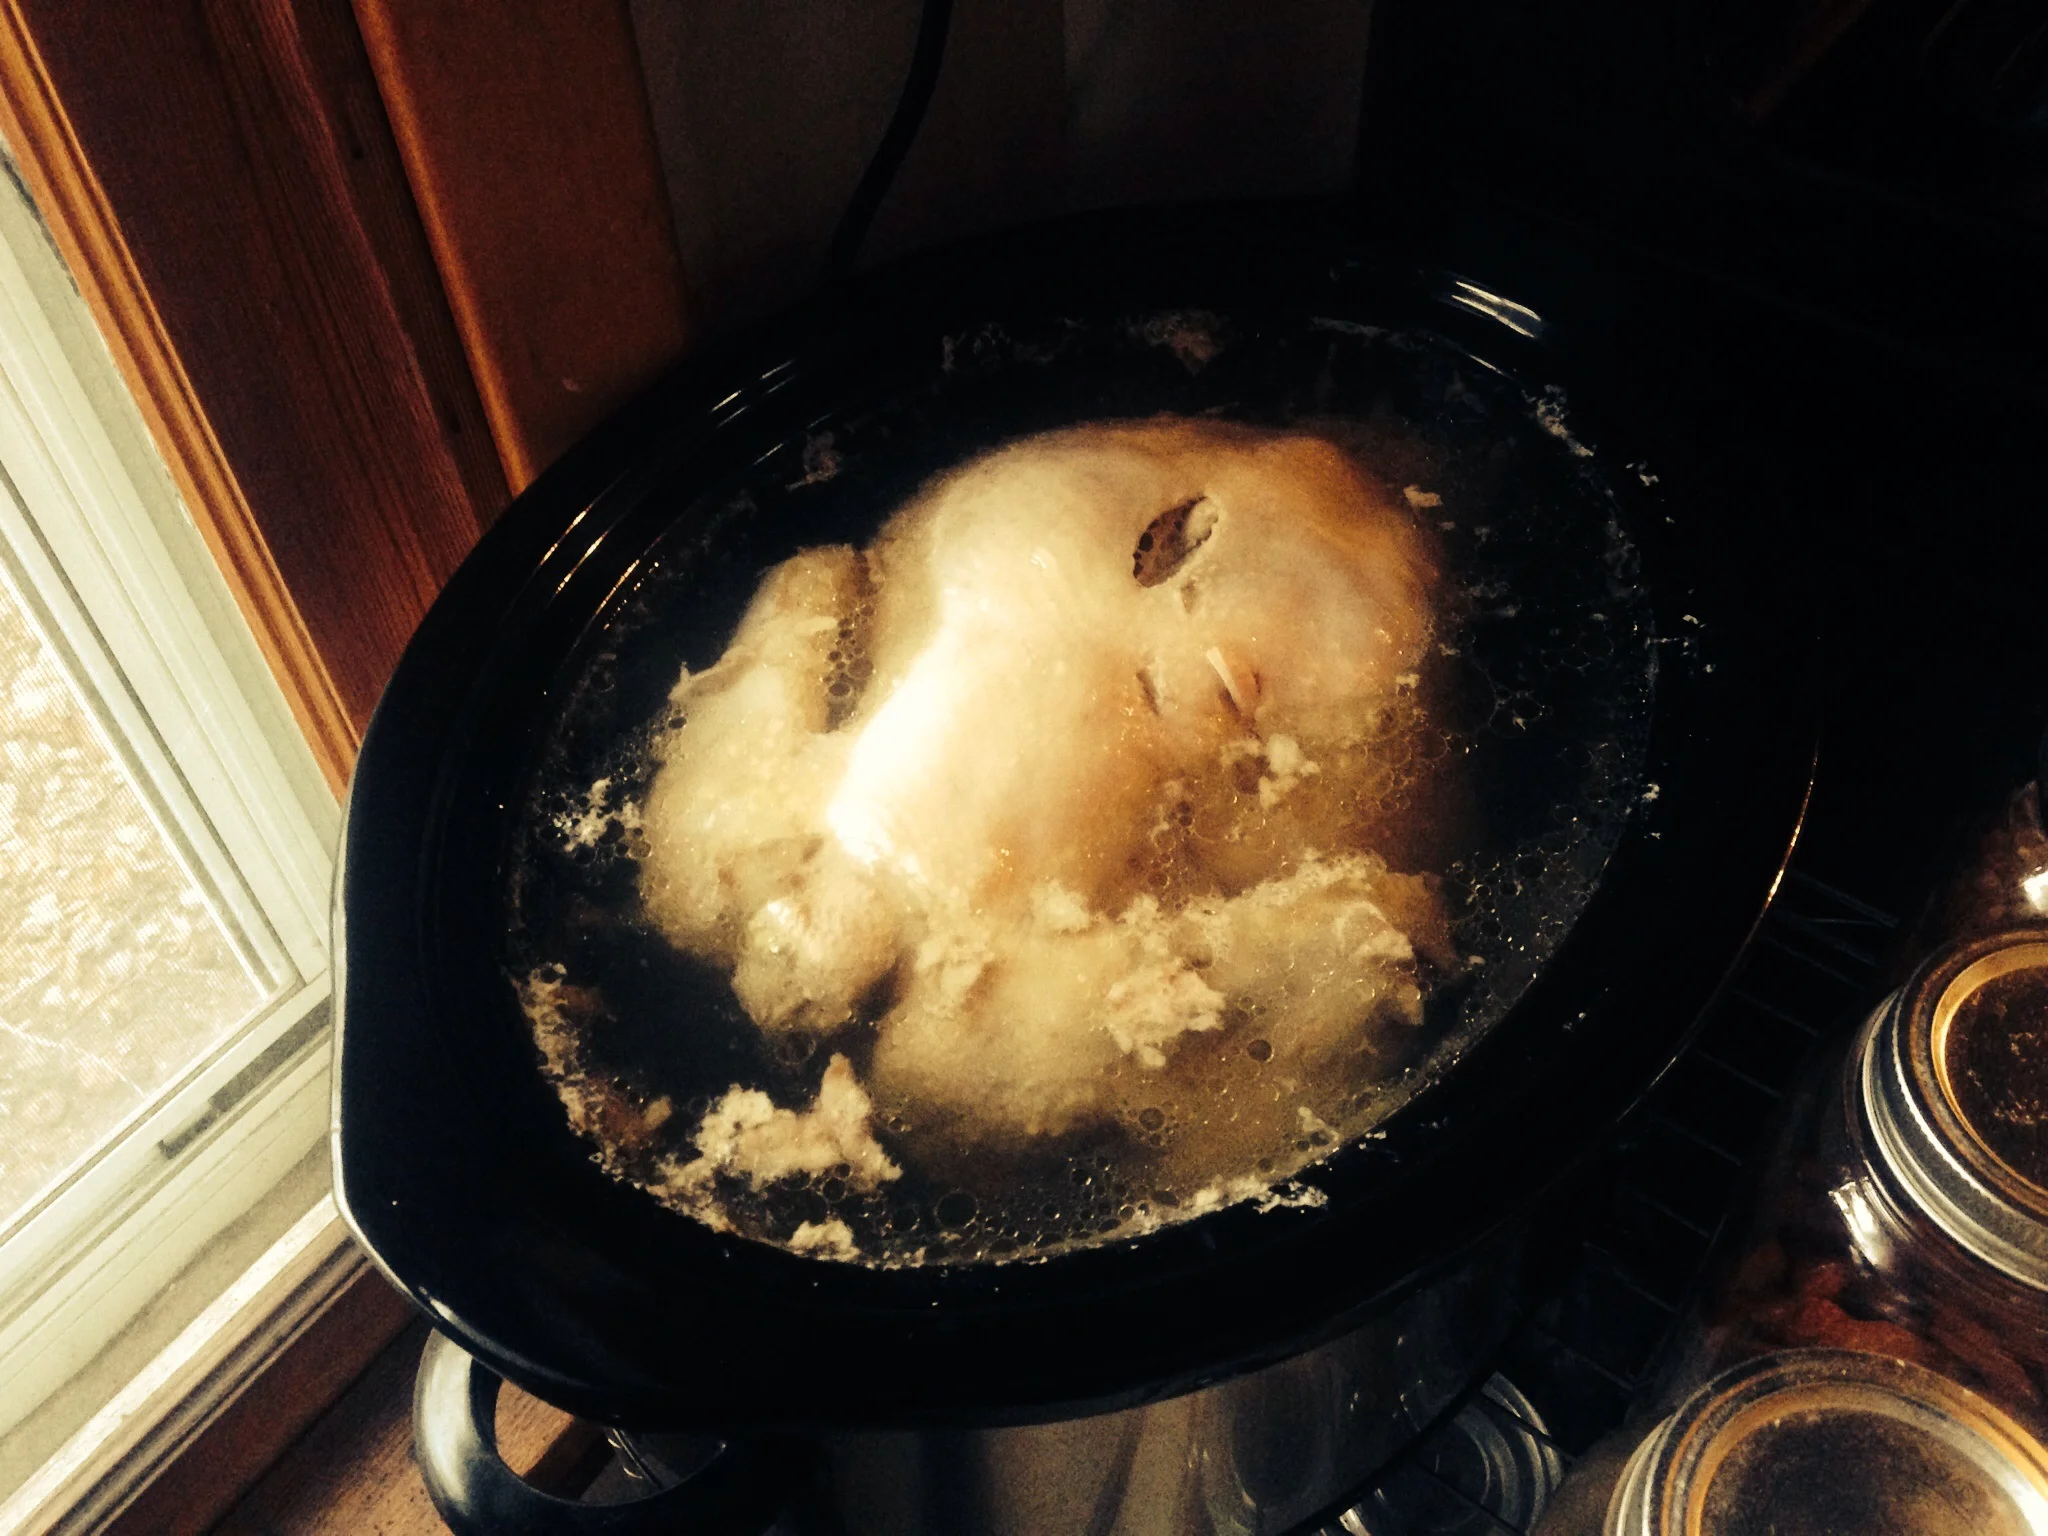
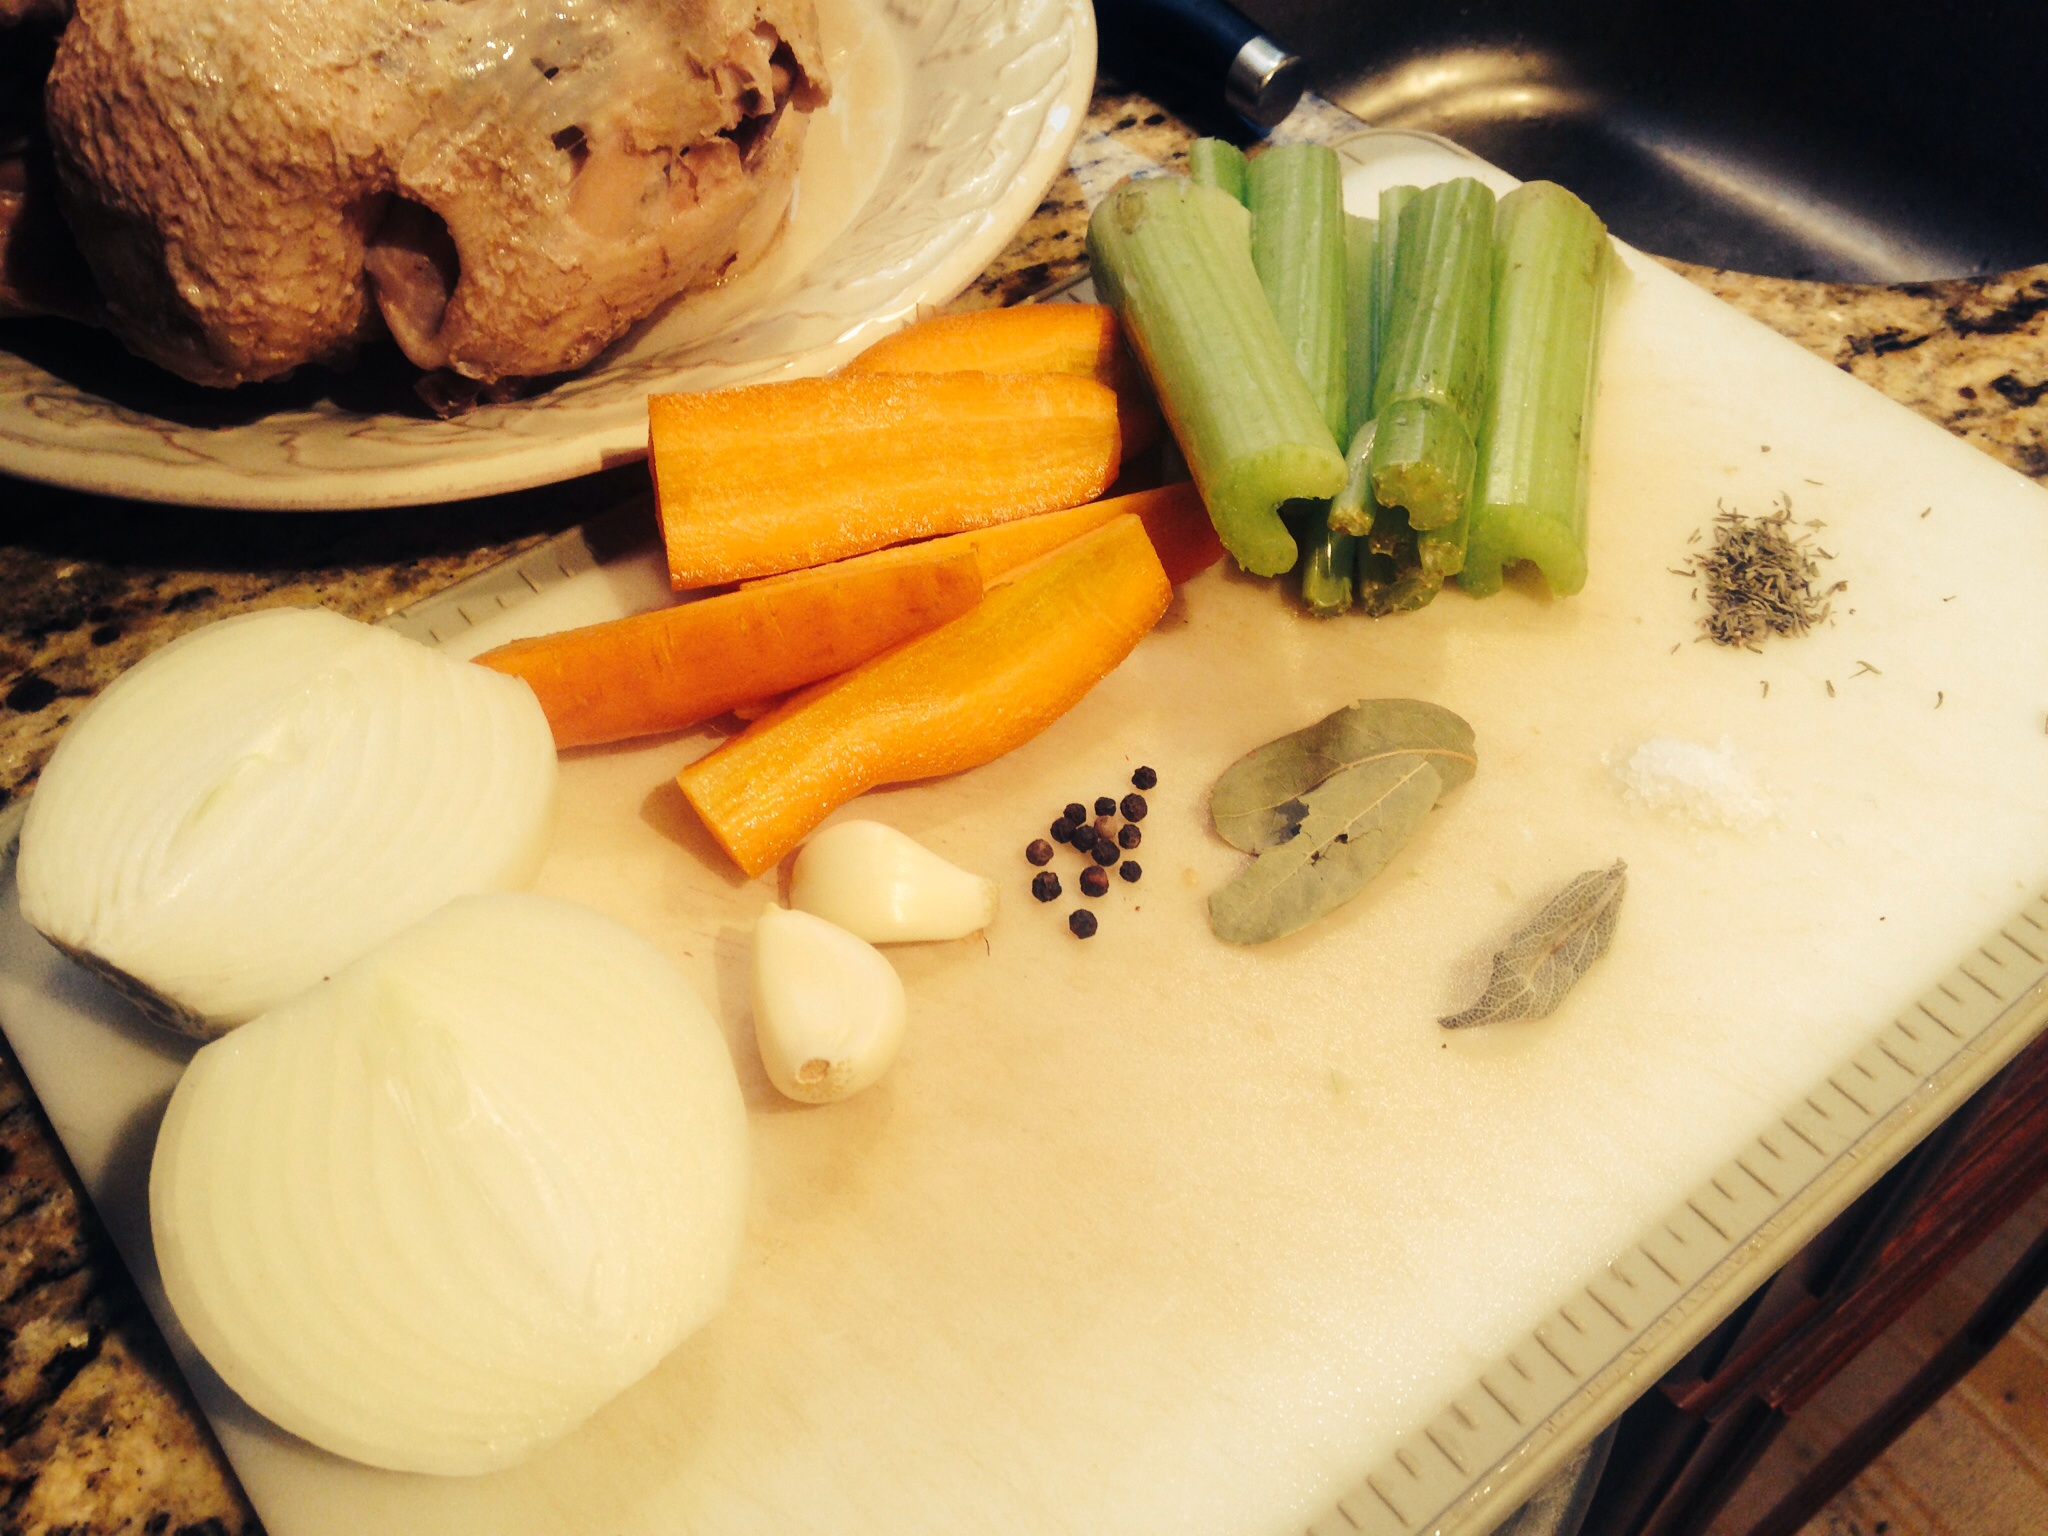
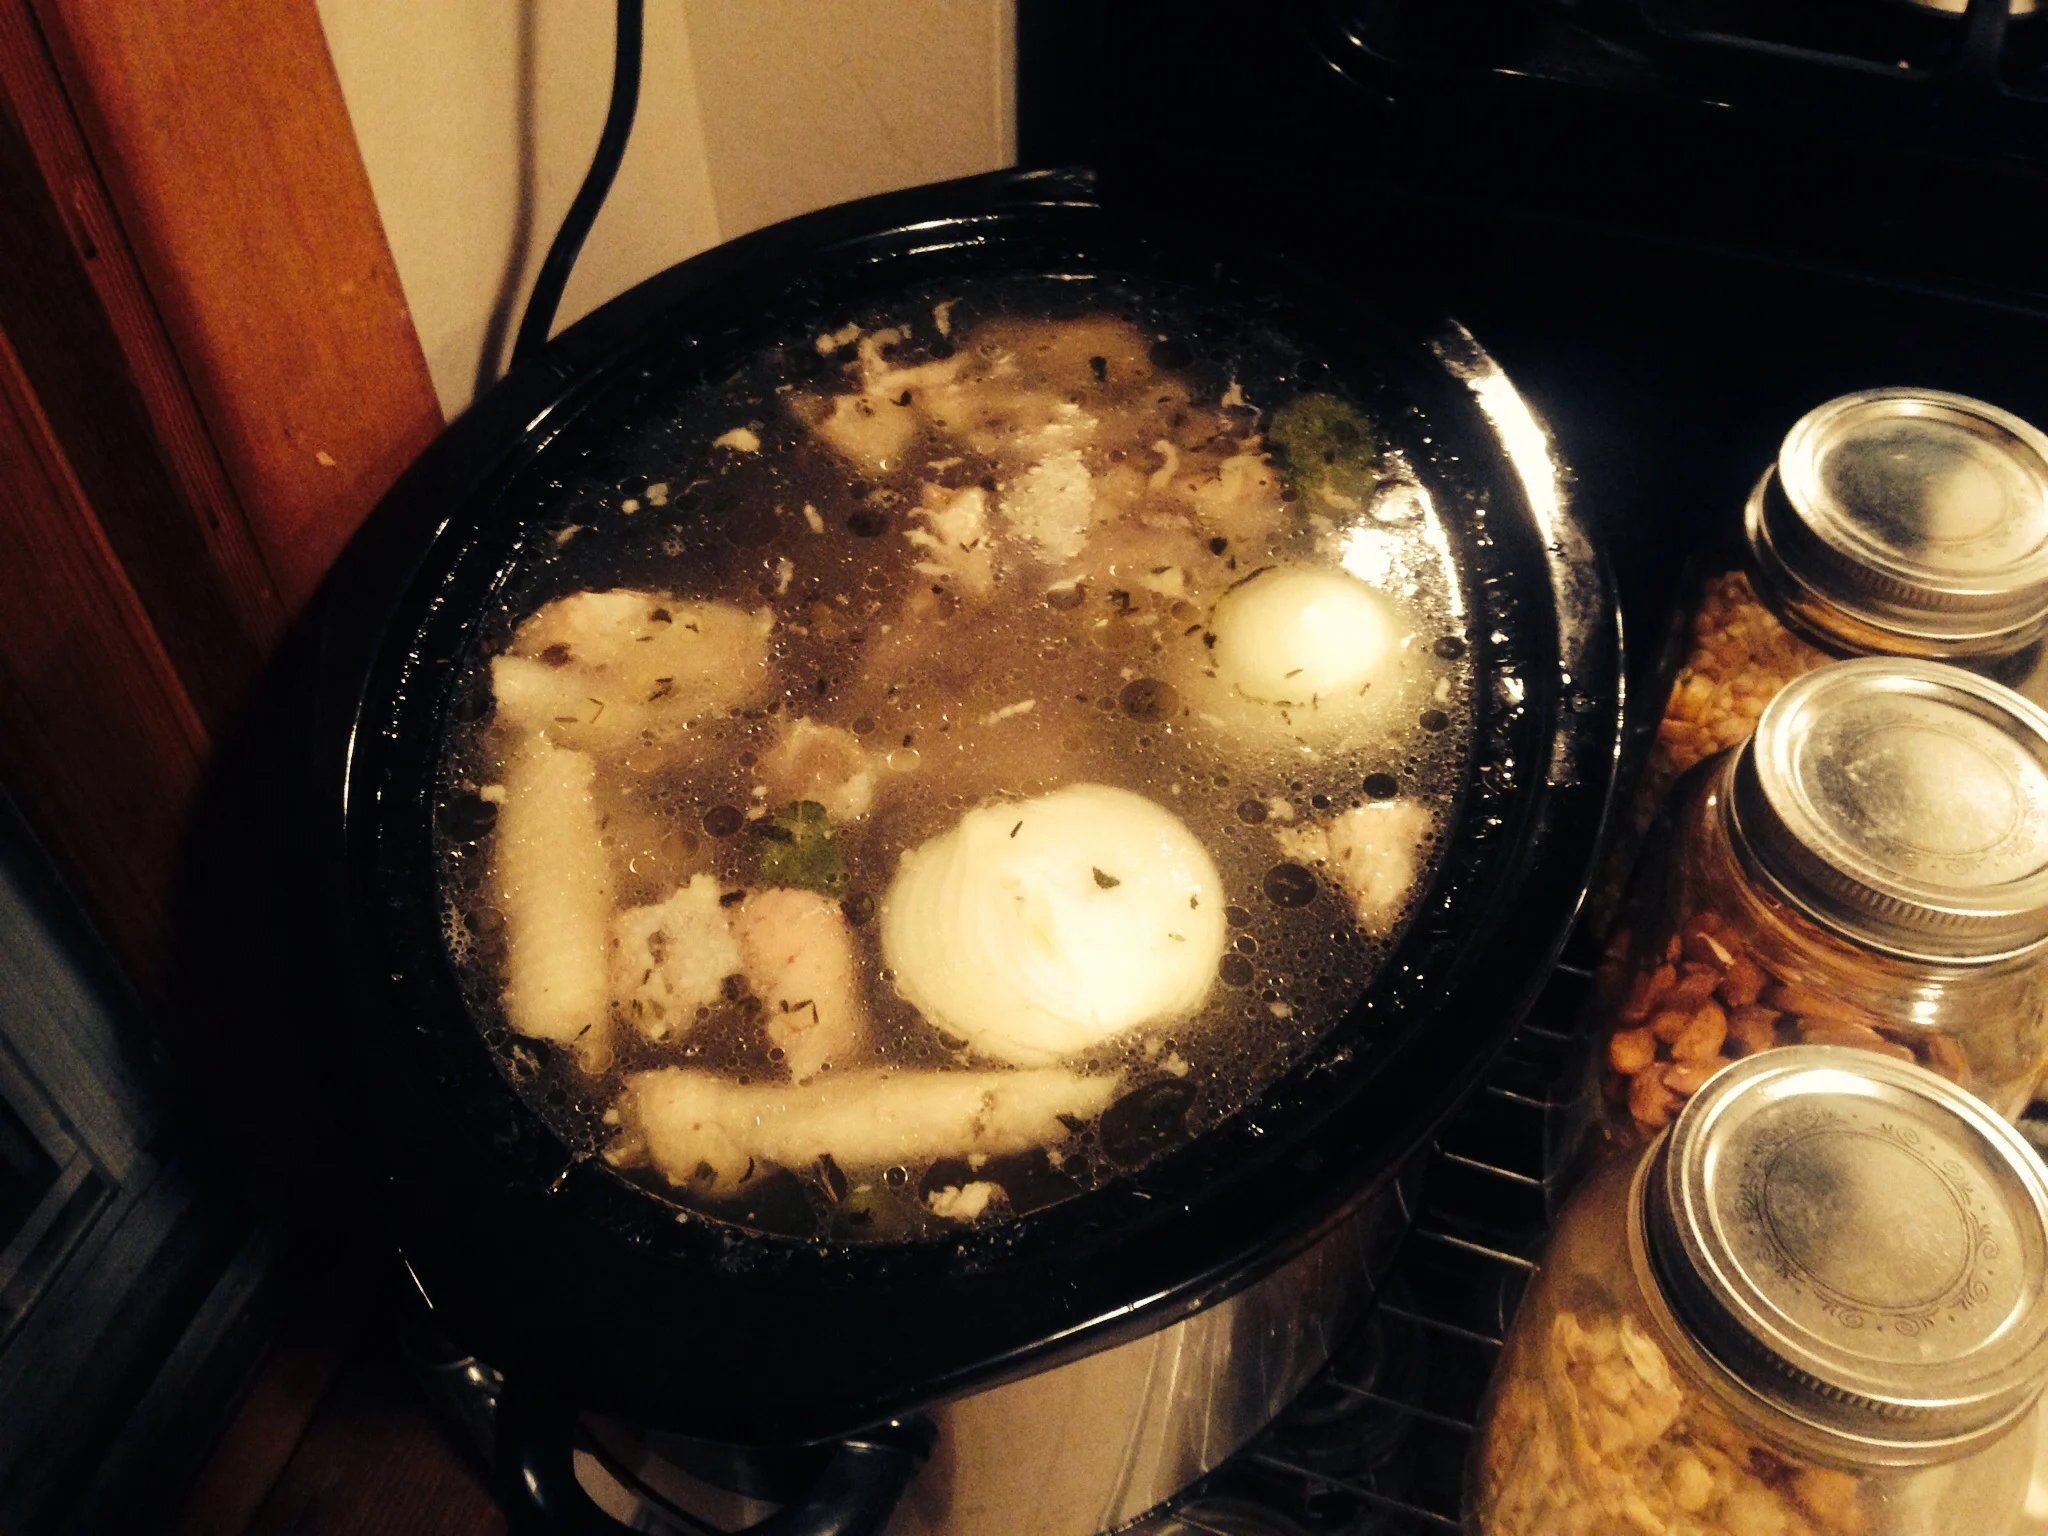
Besides health benefits, there are financial benefits as well to making your own broth.  The broth, for one, is super cheap to make!  All you need are some bones, water, veggie scraps, and herbs!  Buying a whole chicken is also far more economical than buying pieces of a chicken, or even a cut up whole chicken.  Not to mention, the mixed white and dark meat is much more flavorful.  I tend to buy our chickens whole, or once in a while cut up for a quick grilling meal.  I occasionally roast a whole chicken, but I find that when I do this we eat far more of it in one sitting than fits the grocery bill.  So, instead, I often cook a chicken in water in the crockpot, pull the meat off the bone to use or freeze, and then continue on to making broth in the Crockpot.  I find that this process fits our lives the best--both in time and budget.   

image.jpg

Bone Broth

1 whole chicken (3-5 lbs)

veggie scraps (carrots, celery, onion, garlic, leeks, etc.)

seasonings (bay leaf, thyme, sage, peppercorns, salt)

apple cider vinegar

water

Cook the chicken however you'd like (roast, grill, boil).  I place mine in the slow-cooker, cover it with water, and turn it on low for 6-8 hours or until the meat starts to fall off the bone.  Pull the chicken out of the water and let it cool.  While it's cooling, add the veggies, a few teaspoons of seasonings, a teaspoon or so of salt (if you want), and a slash of apple cider vinegar (raw is best!) to the leftover water in your slow-cooker.  Once the meat has cooled enough to touch, pull it off the bone and set it aside to be used for meals.  I like to freeze mine mine in 2-4 cup portions so that it's easy to throw into a recipe.  Once all the meat is off of the bone, throw all of the bones back into the slow-cooker.  If you have the neck and aren't going to eat it, you can throw that back in as we'll.  (If you've cooked your chicken another way, just fill up the slow-cooker with water, add the veggies, seasonings, and bones.)  Turn it on low for about 24 hours.  After the broth has finished and the bones have reached the crumbly stage, strain out the veggies and pour the broth into containers for freezing.  I use wide-mouth pint jars and leave about 1 inch headspace.  If using glass jars for storage, the broth can easily be thawed in room temp water or in the microwave.  I often pull broth out just before I need to use it.  With a wide-mouth jar, you only need to thaw it a little bit for it to be able to slide out in a frozen chunk into your soup.  

image.jpg
image.jpg
image.jpg
image.jpg
image.jpg
image.jpg

If your finished broth has a lot of gelatin in it, it will be very noticeable as the broth cools and solidifies.  This is a great sign!  As it's warmed up again, it will liquify and add great nutrients into your body!  

See...that wasn't so hard!!  So now, you, too, can make your own broth and it doesn't need to be some new daunting DIY skill you need to learn!  It's so simple and so worth the minimal effort.  Enjoy!

baked oatmeal

On cold snowy Saturday mornings, baked oatmeal is one of our favorite ways to start the day.  I make it many different ways to fit the season, the day, and what I have on hand.  But no matter how I make it, we love it.  It's warm and comforting and delicious.  This specific recipe is from my dear Auntie Laura (tweaked just a bit to match our tastes), which makes it extra special. 

image.jpg

Baked Oatmeal

2 eggs beaten

1 cup milk

1/2 cup coconut oil (or any oil/butter or applesauce)

3/4 cup brown sugar

2 teaspoons baking powder

1 teaspoon salt

3 cups oatmeal

spices/extracts (cinnamon, cloves, ginger, almond, vanilla, etc.)--be creative!!

fruit (raisins, apples, cranberries, strawberries, bananas, etc.)--be creative!!

**The picture above includes about 1/2 cup of chopped apples, 1/2 teaspoon cinnamon, a dash of cloves and a dash of ground ginger.

Mix all ingredients, except oatmeal and fruit, until well mixed.  Add in oatmeal.  Add in fruit.  Put oatmeal in a greased 8x12 greased pan.  Bake at 350 for 25 minutes.  Let cool for a few minutes and serve with a little milk or cream.  

Enjoy! 

summer squash & oatmeal muffins

Last week I decided to experiment with using summer squash, rather than zucchini, to bake with.  Up at my dad's house this summer, we planted a decent sized plot of multiple varieties of squash and pumpkins.  We planted acorn squash, butternut squash, pie pumpkins, jack-o-lanterns, zucchini, and summer squash.  We're excitedly watching the vines completely overtake the garden, and anticipating high yields of winter squash and pie pumpkins to stash away for winter.  

For now, though, it's zucchini and summer squash time!  Unfortunately, though, the zucchini has been a bit slow to produce.  So, we've found our counters being stacked more with yellows than greens.  Now, I'm not actually a huge fan of either zucchini or summer squash.  I just find them rather dull.  Zucchini, obviously, is great for baking, but I've never heard of people baking with summer squash.  So, after my husband kindly asked if we could have a dinner without summer squash (after 4 in a row with summer squash), I figured that I'd better find a different use for all that squash!  

So, I made up a recipe for muffins!!  We think they are yummy and hearty.  I do hope you enjoy! 

image.jpg

Summer Squash & Oatmeal Muffins

2 cups grated summer squash

1/4 cup sugar

1/4 cup molasses

1/3 cup coconut oil

1 tsp vanilla

2 eggs

1 1/2 cups whole wheat flour

1 cup oatmeal

1 tsp baking soda

1/4 tsp baking powder

1/2 tsp salt

1/2 tsp cinnamon

1/4 tsp cloves

handful of raisins

Mix squash, sugar, molasses, oil, vanilla, and eggs together in a mixer or by hand until well blended.  Add everything else, except the raisins.  Mix well.  Fold in raisins.  

Bake at 350* for 15-20 minutes.  Yields 12 muffins.  

strawberry mint deliciousness

With the plethora of strawberries that have been in my kitchen over the past week, I've found myself experimenting with a few creations.  This is one such creation that I made this past weekend.  I hope you enjoy it as much as we did!


Strawberry Mint Deliciousness 

1 quart strawberries

a few sprigs of mint

a tablespoon or so of honey (depending on your desired sweetness level)

lime wedges

club soda

vodka or gin (if desired)

Blend the strawberries, mint leaves, and honey in a blender until smooth.  When ready to serve, pour the strawberry puree over ice (I filled the glass about halfway), add an ounce or two of liquor, top with club soda, drop in a squeezed wedge or two of lime, stir, and drink in the sunshine!  Yum!!